How a pit actually works
Every barbecue pit, from a hole in the ground to a competition rig, does the same three things: it contains heat, it moves smoke across the food, and it controls airflow so the fire burns clean and steady. Get those three right and the rest is detail. Heat comes from a fire kept deliberately small; smoke flavor comes from clean-burning wood; and airflow — an intake near the fire and an exhaust past the food — is the throttle that sets your temperature. Understand that and you can evaluate any design, including your own.
Three pits you can build this weekend
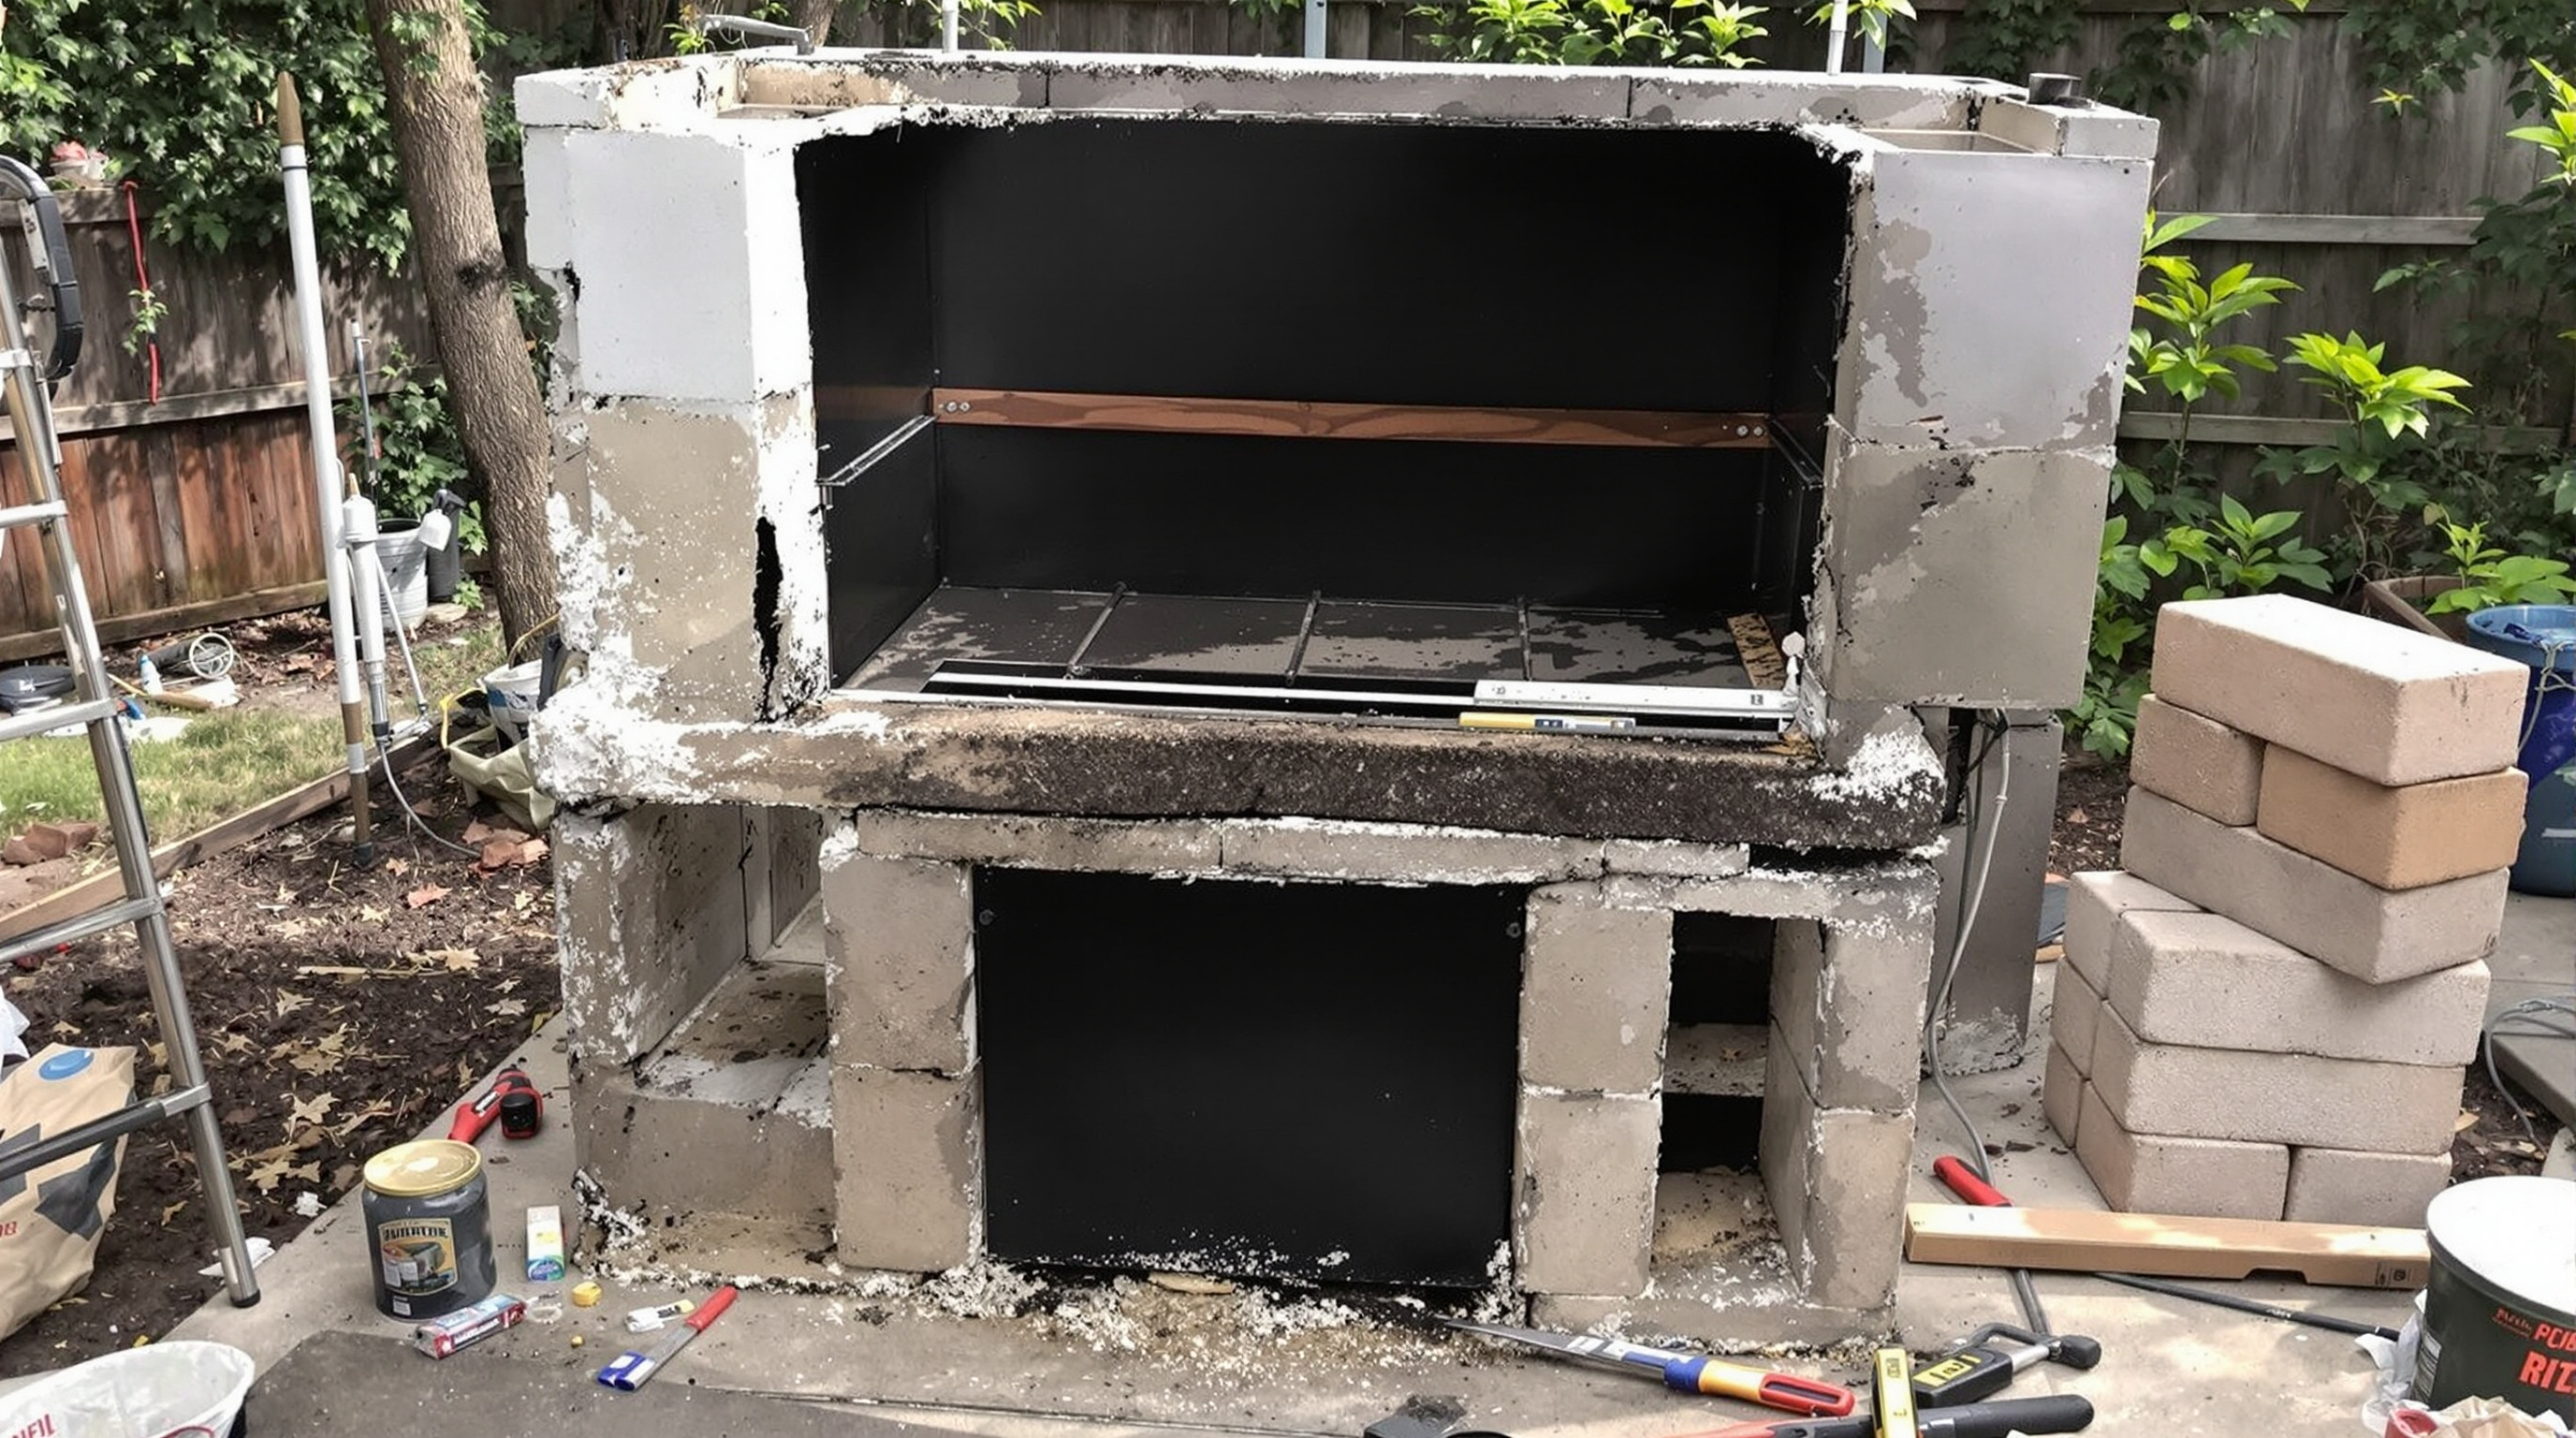
1. The block pit
The simplest permanent pit is a rectangle of stacked concrete blocks, roughly waist high, with steel rods or expanded metal laid across the top to hold the food and the fire. Build the fire at one end and cook at the other for indirect heat, or bank coals along the bottom and raise your grate for direct grilling. Leave gaps in the lowest course of blocks for intake air and cover the top with a sheet of steel or a damp piece of plywood to trap smoke. It is crude, it is cheap, and it has cooked more whole hogs than any gadget ever will.
2. The drum smoker
A clean steel drum stood on end makes a superb vertical smoker. A charcoal basket sits in the bottom, the food hangs or rests on a grate near the top, and a few adjustable intake holes plus a vented lid regulate the burn. The tall, narrow chamber creates a natural convection column that bastes the food in smoke. Drum smokers are efficient, hold temperature beautifully, and are a favorite first build for good reason.
3. The offset barrel
The classic look — a horizontal cooking chamber with a firebox welded to one side. The fire burns in the small box; heat and smoke are drawn sideways through the cooking chamber and out a chimney at the far end. Offsets take more metal and some welding, but they cook the way a traditional pit should and give you room for a lot of meat. If you weld, this is the build to aspire to.
Materials and safety
Use only clean, food-safe metal — never a container that held chemicals, fuel, or anything galvanized, because heated zinc coatings give off toxic fumes. Burn off any paint or residue with a hot fire before the first cook. Set the pit on a non-combustible base, keep it well clear of walls and eaves, and always have water or a fire extinguisher within reach. Fit a good thermometer at grate level; the temperature dome on a cheap unit is often wildly off.
Dial it in
Once built, spend a "dry run" learning your pit with no food on it. Light a small fire, close it up, and practice holding 250°F for a few hours using only the intake vent. Every pit has a personality — a sweet spot for fire size and vent position. When you know yours, put on a cook and watch for that smoke ring. For managing heat once you are cooking, see the rule of thirds. For inspiration on what to cook first, try beef ribs or barbecue chicken. When you are proud of your build, join the ring and show it off.